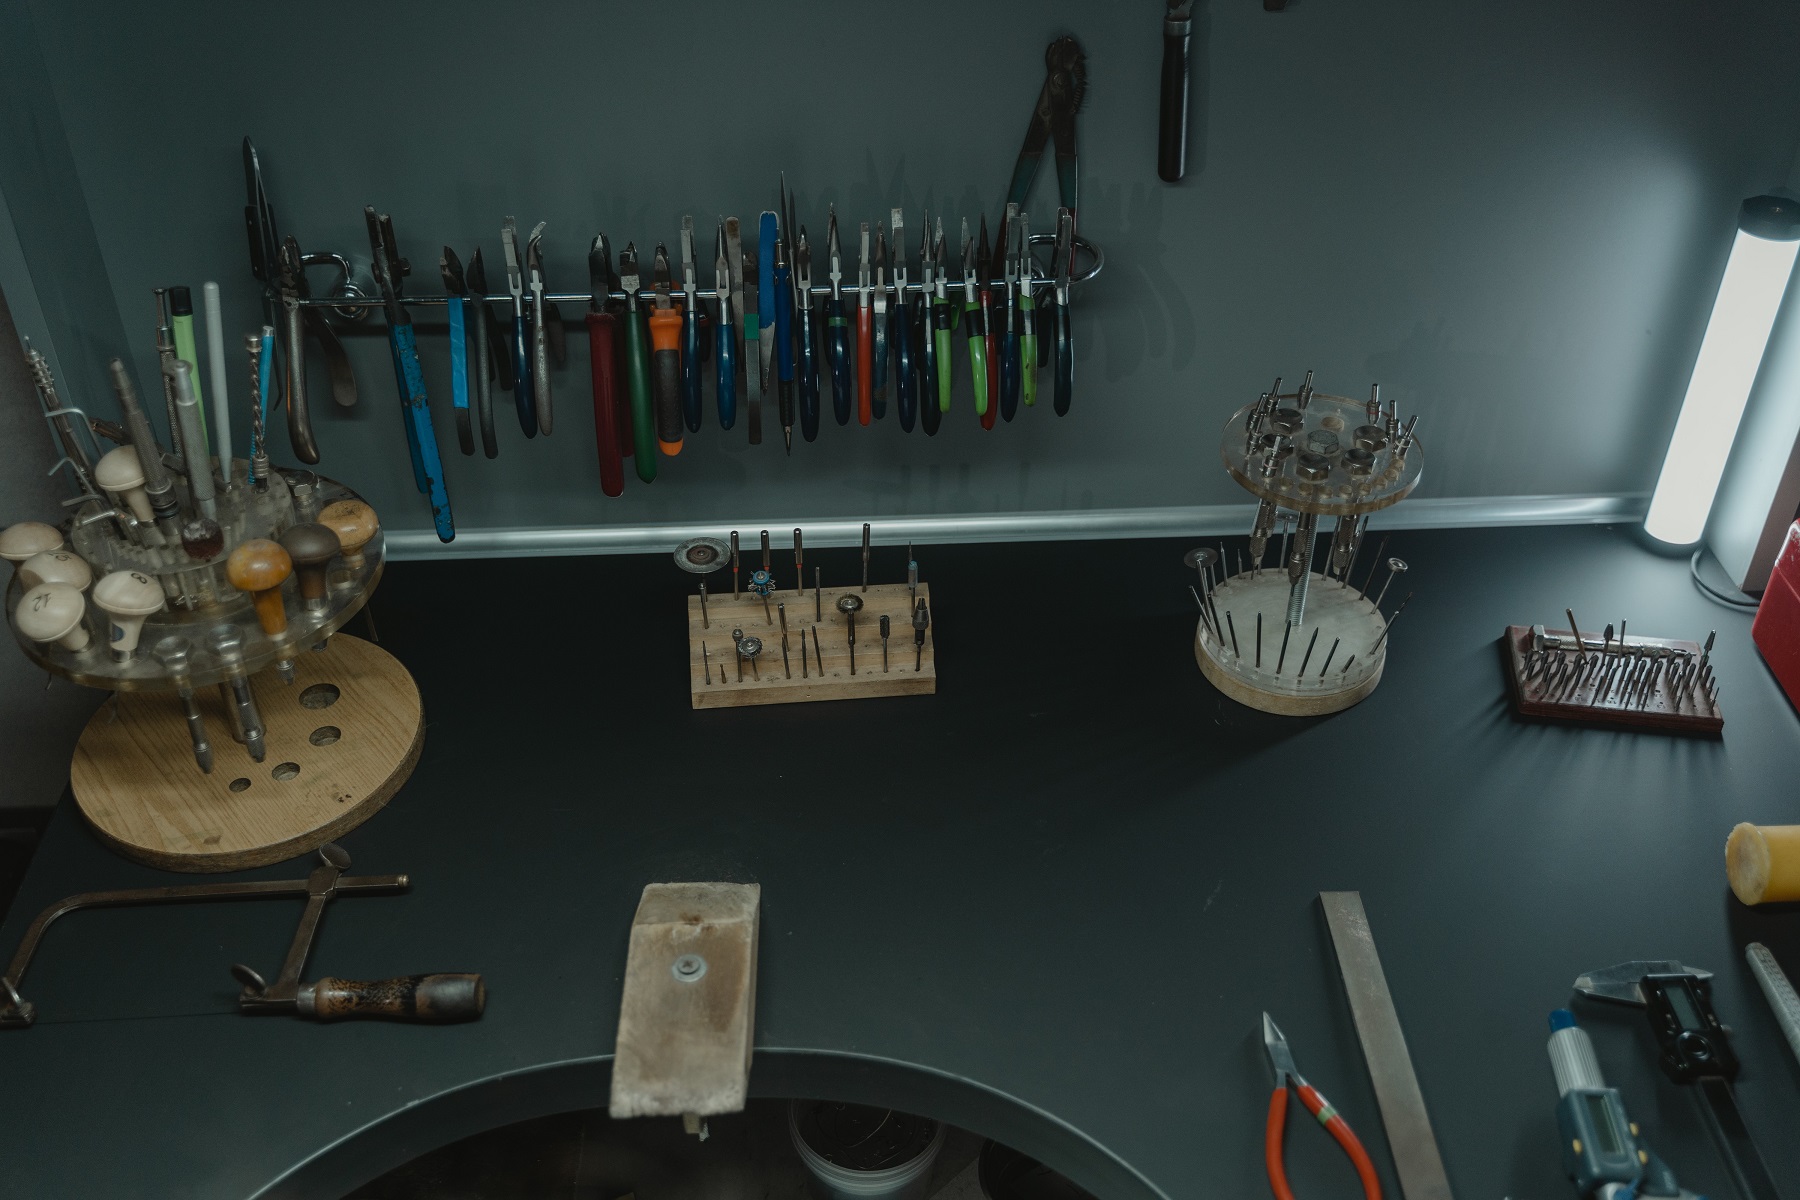
Setting Up a Jewelry Workshop at Home
Are you interested in creating a jewelry workshop at home? Making jewelry is akin to delving into oneself on a personal level. Establishing a jewelry workshop at home begins with the amassing of materials and continues through their arrangement, cutting, drilling, and joining. Constant focus and an honest desire to advance and produce are the hallmarks of a skilled jeweler, and a clear focus on essential foundations of excellent craftsmanship, like sourcing high-quality jewelry-making supplies. One way anyone can do that is to understand how the jewelry-making supplies market works.
Artists who work in jewelry can challenge convention and create groundbreaking new forms of adornment. Accessorizing oneself is an expansive, multifaceted, and potentially limitless field of artistic practice. Brilliant jewelry will have originality, creativity, and artistic design qualities.
Birthing Your Jewelry Studio’s Floor Plan
You should probably look at your requirements as an artisan or creator before deciding on how to create a jewelry workshop at home. Carve your shield against negativity in a home jewelry workshop, crafting a unique protection pendant infused with your intentions. Availability of resources and critical health and safety considerations should also factor into your decision, but space constraints are paramount.
Some jewelers may set up shop in a spare bedroom, while others may prefer to devote an entire room to their craft or even rent an office elsewhere. Ask yourself these things before making any of these choices:
How long will I create jewelry here?
Whether or not you have a dedicated space in your home for making jewelry depends on how often you use it.
Is the new place conducive to work or life in general?
When setting up your studio, you’ll quickly realize how important it is to access power outlets, running water, and lots of bright lights.
Where do I see room for development here?
Sooner or later, you might realize that you need to upgrade to better tools. Getting ready for this in advance is highly recommended. Having a studio that is both roomy and well-organized and has plenty of natural light is essential to having a positive work experience.
Think carefully about where to put the jeweler’s bench, as that is where you will spend most of your time. You can get some fresh air and a good look out of being near a window.
Working with Limited Space
In time, it will become clear that maintaining some semblance of order in the jeweler’s workspace is for the best. In addition, workflow during and between projects should be conducive to the physical layout of the area. Therefore, thinking about these things is essential before creating a jewelry workshop at home. Local crafters rejoice! This city newscast dives into the burgeoning trend of home jewelry workshops, showcasing the creative outlets and sparkling possibilities this DIY movement offers.
In the long run, you’ll save a lot of time and effort and experience less stress if you have a sound studio organization system. For example, a studio needs a workbench and a table for concentrated work.
Ordinary dimensions for a jeweler’s bench are 4 feet wide (1.2 m) and 2 feet deep (60 cm).
Most standard worktables are 6 feet wide by 4 feet deep (1.8 m by 1.2 m). The below diagram depicts a standard studio layout with advanced techniques in mind, which necessitates more room for tools and workbenches.
Studio space can be broken into multiple zones, each of which serves a specific function. For example, there could be designated areas like paperwork, a computer, files, a place to package items (if you intend to sell your work), and a photography setup.
Important Considerations
Power
The jewelry industry relies heavily on electrical power due to the need for lighting and various tools and equipment. Therefore, it’s crucial to keep resource usage low. Make sure there is enough natural light, or access to electrical outlets, in the area and you decide to work in.
Avoid overusing your wall power outlets as you start using more high-tech tools and equipment for more methods. Overloaded circuits or improper wiring of expanded circuits is typically the root cause of electrical fires in homes. Hire a professional electrician to help you out.
Large carriage bolts or lag screws should be used to fasten equipment to a workbench’s surface securely. From left to right, you can see a benchtop drill press, a buffing machine, a wet and dry grinder, a buffer with tapered spindles, a hood, a filter, and a buffing machine.
Climate
It’s preferable always to be inside, where the climate can be maintained at a constant, comfortable level. Some moves will be more challenging to execute if you’re in a hot studio with a blowing fan. Separate fuel or ceramic heaters in a chilly studio may not be adequate when working with a wide range of materials.
Running Water
A fully functional studio should have running water available. Many of the chemicals found in a typical jewelry workshop are quickly neutralized by water. You’ll need to clean your work after completing specific steps.
When working with metal, you may occasionally need to quench it in cool water, and you’ll want to keep yourself and your projects free of dust, grime, and oil. Likewise, sinks in other rooms of the house, such as the kitchen, should be used with caution to prevent chemical contamination of food preparation items. Crafting together in a home jewelry workshop can offer a creative outlet and a shared experience, potentially easing mental stress in relationships by promoting communication, collaboration, and playful focus.
Multiple illumination sources (halogen [left], fluorescent, incandescent, etc.) may provide the best results. After applying surface treatments and finishes, the appearance of the work will alter depending on the lighting conditions.
Setting Up Shop for the First Time
Make It Bright
The key to a successful studio is good lighting for branding your business. If you ask any interior designer what makes a space productive, they will tell you the lighting. You might get by with just a few lamps if you have a small workspace. However, professional installation of supplementary lighting may be required if the workspace is a large room or basement. While large floodlights are great for ambient lighting, task areas can benefit from adding track lighting. For example, a focused, intense light source should illuminate the principal bench of a jeweler.
Lighting technology advancements have made it possible to reduce energy consumption while still enjoying a comfortable level of illumination. While making jewelry, the bright white or blue/white light emitted by halogen and fluorescent bulbs relieves eye strain that can be caused by staring at a bright object for long periods, which is especially useful. Lighting the workspace effectively may necessitate the use of more than one lamp. (Don’t use bulbs with a higher wattage than the fixture can handle, and don’t overload your circuits.)
Flooring
When working with metals, you’ll inevitably damage your studio floors from dropped tools, spilled chemicals, and general abuse. The most secure and long-lasting flooring material is concrete. Other materials include hardwood, laminate, ceramic tile, vinyl, and linoleum. Carpeting should be avoided because it is combustible and quickly becomes dirty and unkempt.
Studio Air Quality
When deciding, consider the air quality and how it will affect the rest of your house. For example, the air quality above your workspace may be compromised if floorboards touch the area you are soldering. On the other hand, a basic exhaust system can be installed with minimal effort if your studio space is next to an exterior wall. The last thing you want is to use chemicals or solder in the kitchen.
Soldering, especially with paste-style solders, can produce toxic fumes and dangerous smoke. In the absence of that, a respirator should be worn. Always maintain a neat and orderly storage system. These vintage wooden printer trays with many small compartments are perfect for storing jewelry findings and other small items.


